In this article, we explain ‘image-to-image,’ which generates new images based on an existing image and prompt.
What is image-to-image?
‘Image-to-image’ (hereafter ‘i2i’) is a method of generating new images using an existing image and a text prompt. It helps recreate subtle atmospheres or color tones that are difficult to convey with text prompts alone. It can also make partial corrections to images generated by t2t (text-to-text).
You can use this feature by selecting ‘img2img,’ the second option from the left in the top menu.
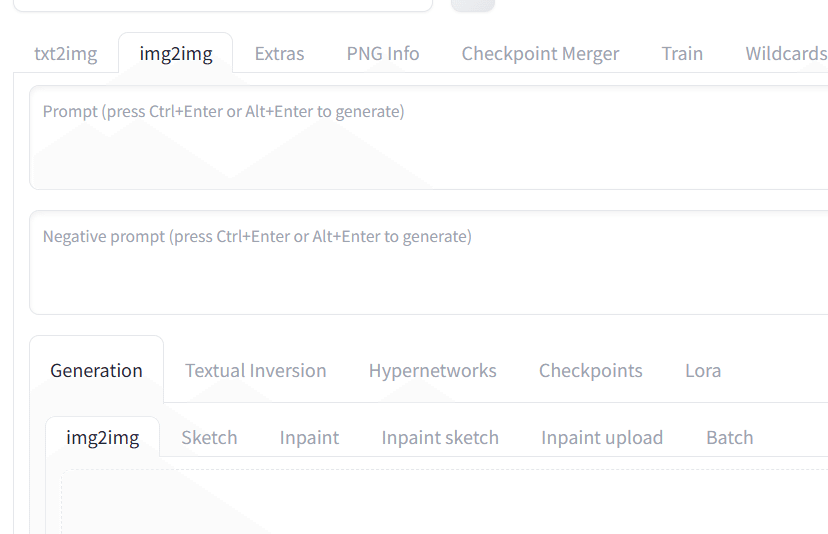
This is the screen you will see.
i2i offers five features: img2img, Sketch, Inpaint, Inpaint Sketch, and Inpaint Upload. Let's try them one by one.
How to use img2img
First, let's start with 'img2img.' This feature generates an entirely new image based on the specified image and prompt. Let's give it a try.
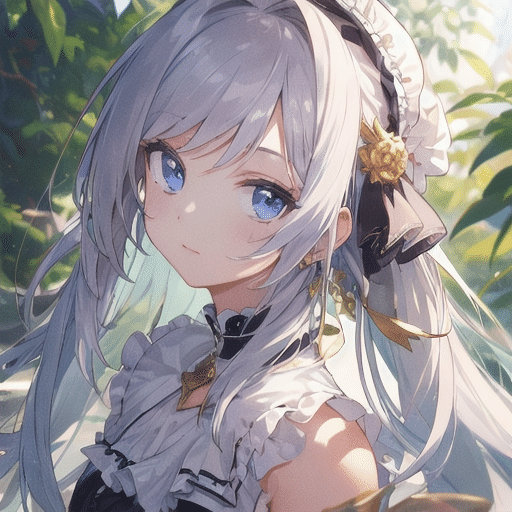
Begin by preparing an image that was generated using t2t (text-to-text).
Model: blue_pencil (in this case, using blue_pencil-XL-2.9.0)
Prompt: masterpiece, best quality, ultra detailed, 1girl
Negative prompt: worst quality, low quality, normal quality, easynegative
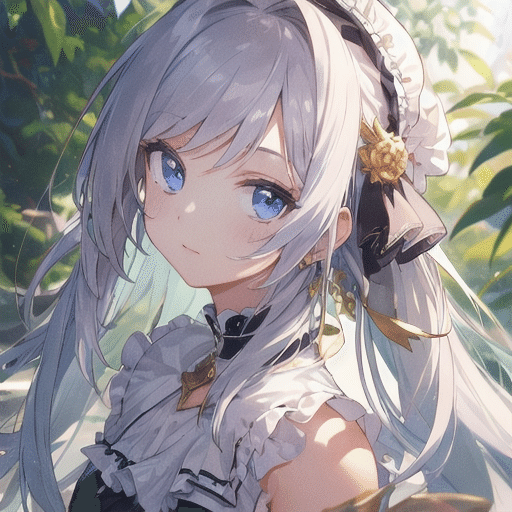


The generated image
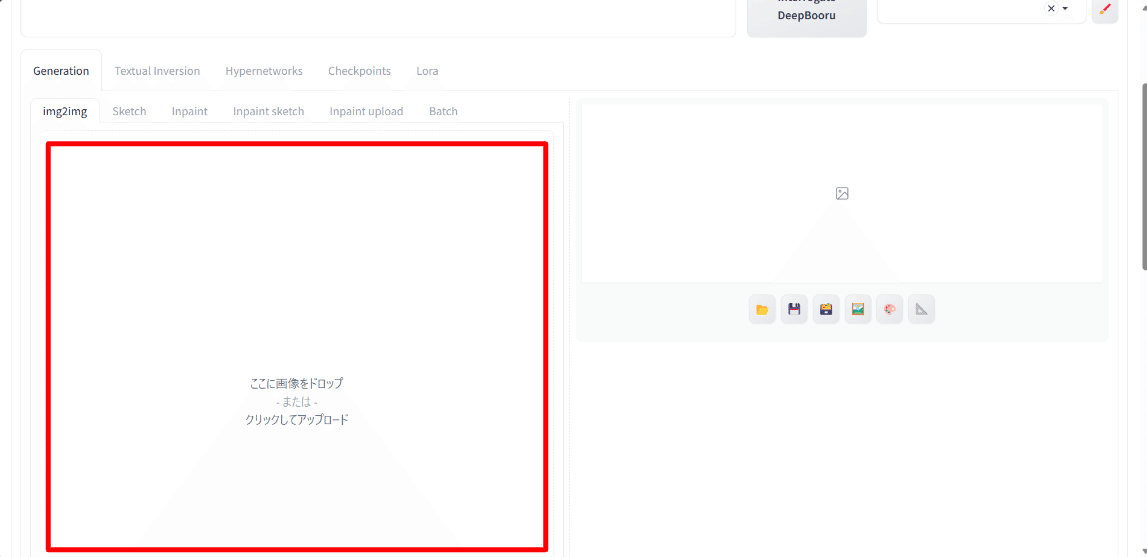
Drag and drop the image into the red frame, or click inside the frame to select and upload it from your folder.

First, let's generate the image without changing any settings.
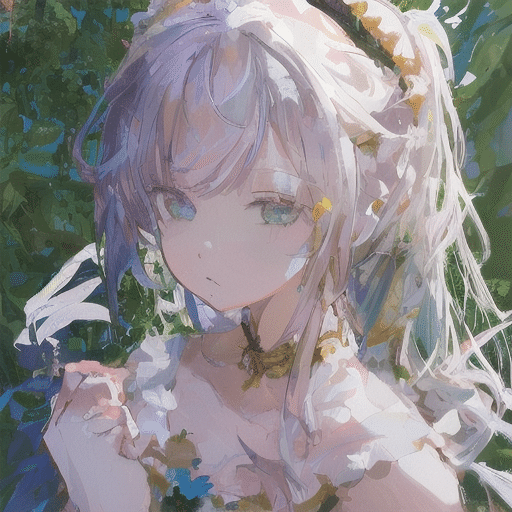
The image has been created, and the atmosphere is indeed similar.
Now, let's specify the prompt. Enter the prompt just as you did with t2t:
Prompt: masterpiece, best quality, ultra detailed
Negative prompt: worst quality, low quality, normal quality, easynegative
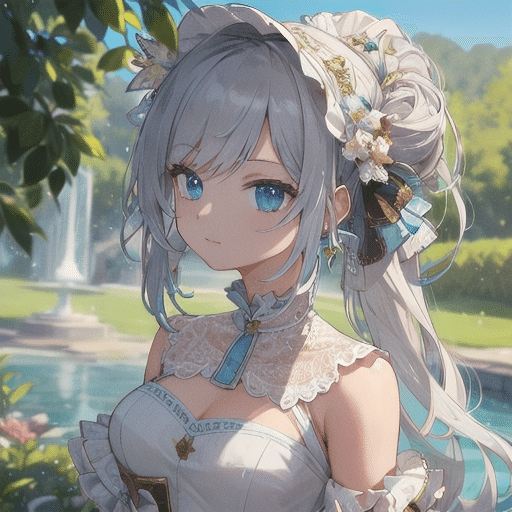
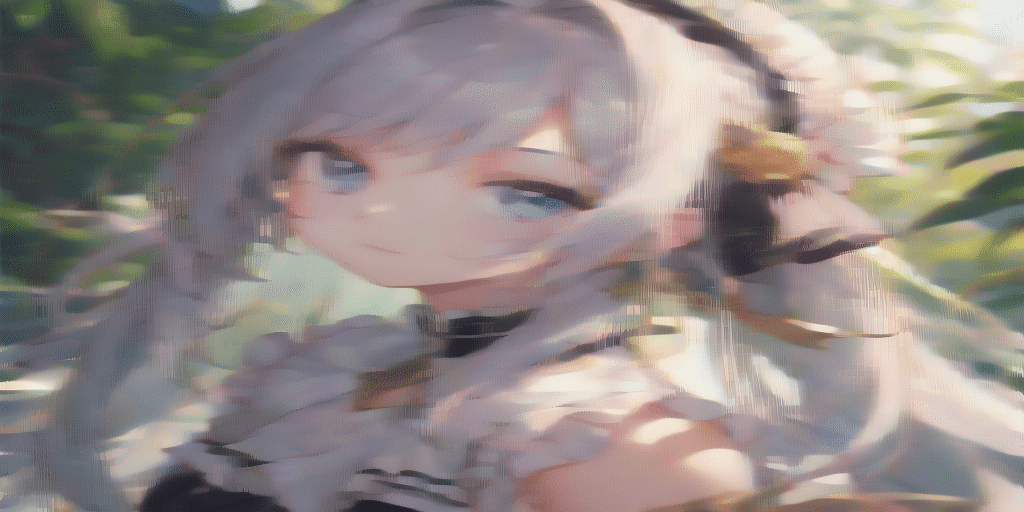
The result is a higher quality image that retains the original illustration's atmosphere. Now, let's change the girl's appearance slightly by adding 'smile' to the prompt.
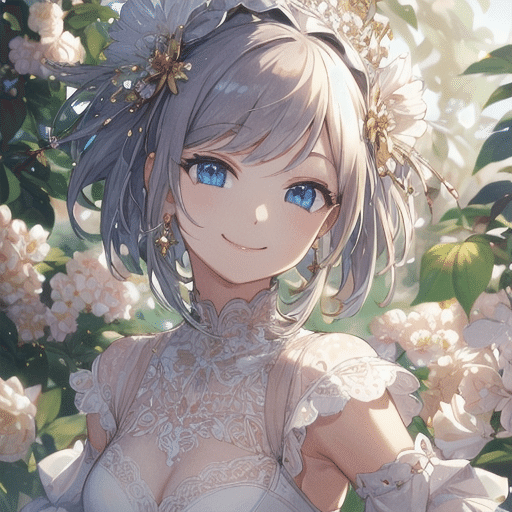
The girl is now smiling.
We were able to generate a smiling girl while keeping the colors and atmosphere intact. In this way, img2img allows you to create new images based on an existing image and a prompt.
Now, let’s look at the detailed settings, which are also commonly used in other i2i features.
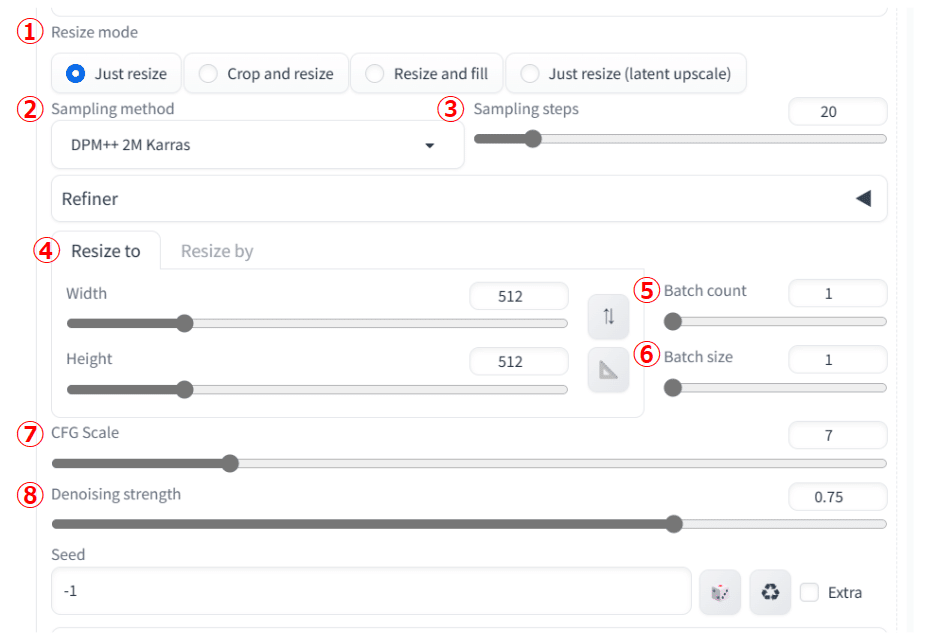
① Resize mode
This setting defines how to handle the difference between the original image and the generated one when changing the image size (see section ④). Let’s double the width of the generated image while keeping the other conditions the same to compare.
Here is the original image:
Just resize
This option stretches the original image without altering its content.

Crop and resize
This option maintains the aspect ratio while cropping and enlarging a portion of the original image.

Resize and fill
This option generates and fills in the missing parts to complete the resized image.

Just resize(latent upscaler)
This option resizes the image using a different upscaling method.
As you can see, the methods for resizing and filling the image differ significantly, so choose the one that best fits your needs.
②Sampling method
This is a setting shared with t2t. It allows you to select the type of algorithm used in the process of removing noise and generating the image. As with t2t, it is recommended to use the default DPM++ 2M Karras.
③Sampling steps
This is another setting used in t2t. It specifies the number of steps for noise removal. For more details, refer to the C3 column.
④Resize to/Resize by
You can specify the size of the generated image. By selecting "Resize to," you can set the width and height directly, while "Resize by" allows you to adjust the scaling factor for enlarging or reducing the image.
⑤Batch count
A common setting with t2t. It generates the specified number of images sequentially.
⑥Batch size
A common setting with t2t. It generates the specified number of images simultaneously.
⑦CFG Scale
A common setting with t2t. It adjusts how closely the generated image follows the prompt.
⑧Denoising strength
It determines how closely the generated image resembles the original image.
How to use Denoising strength
Now, let's experiment with and explain the parameter 'Denoising strength' (mentioned as ⑧ earlier). This is a value you can set in the menu located below the section where you upload images for img2img.
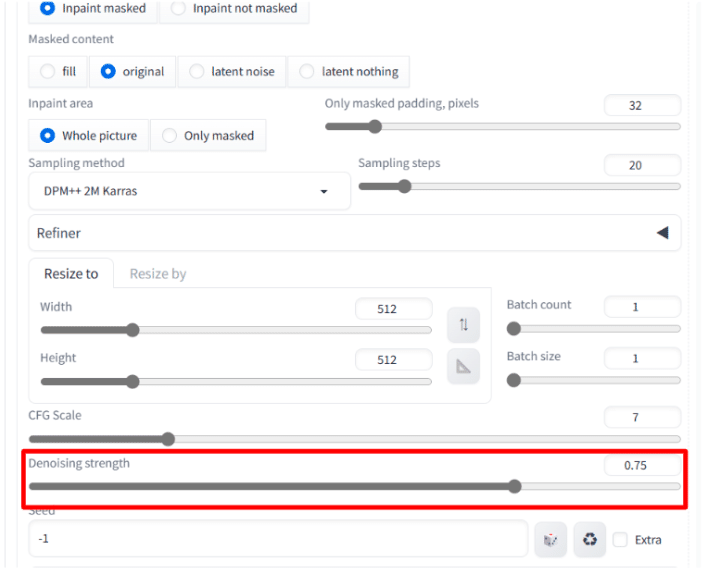
'Denoising strength' indicates how much difference there will be between the original image and the generated image. The default value is 0.75, but as it approaches 0, the image will stay closer to the original. As it approaches 1, the generated image will differ more from the original. Let's generate images using i2i and compare the results.
First, generate an image using t2i with the following settings:
Model: bluepencil
Prompt: masterpiece, best quality, ultra detailed, 1girl
Negative prompt: worst quality, low quality, normal quality, easynegative

Next, use the i2i X/Y/Z plot to generate images by varying the 'Denoising' values.
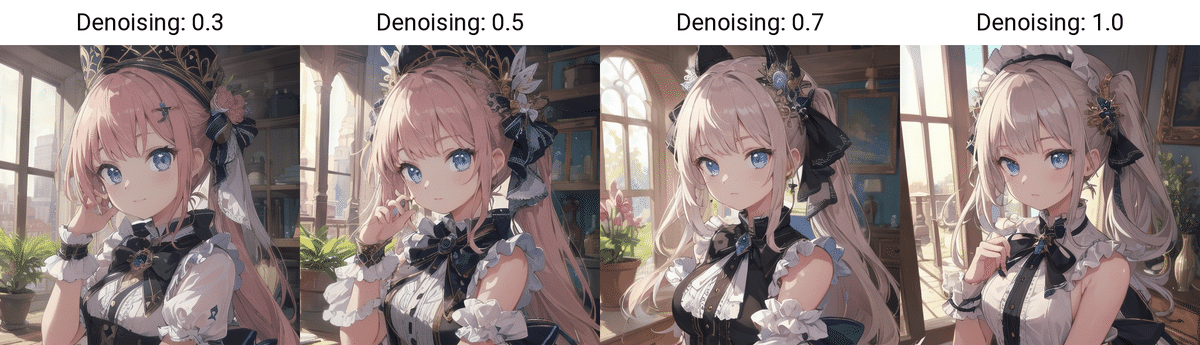
When comparing these images, you’ll notice that the illustration with Denoising set to 0.3 is almost identical to the original, while the one with Denoising set to 1.0 shows significant changes in the girl's clothing, hair color, and background. In this way, a lower Denoising value results in an image more similar to the original, whereas a higher value creates a greater difference from the original.
*This blog was included in a book and is available : j.aicu.ai/Amazon
Members will get early access to the membership version.
We provide easy-to-follow and highly detailed information on Stable Diffusion in this series.
As a member, you can access valuable source codes, ask questions, and submit requests. Feel free to join us!
AICU: AI Creators Union|AICU media
This article is translated based on this article.

Comments